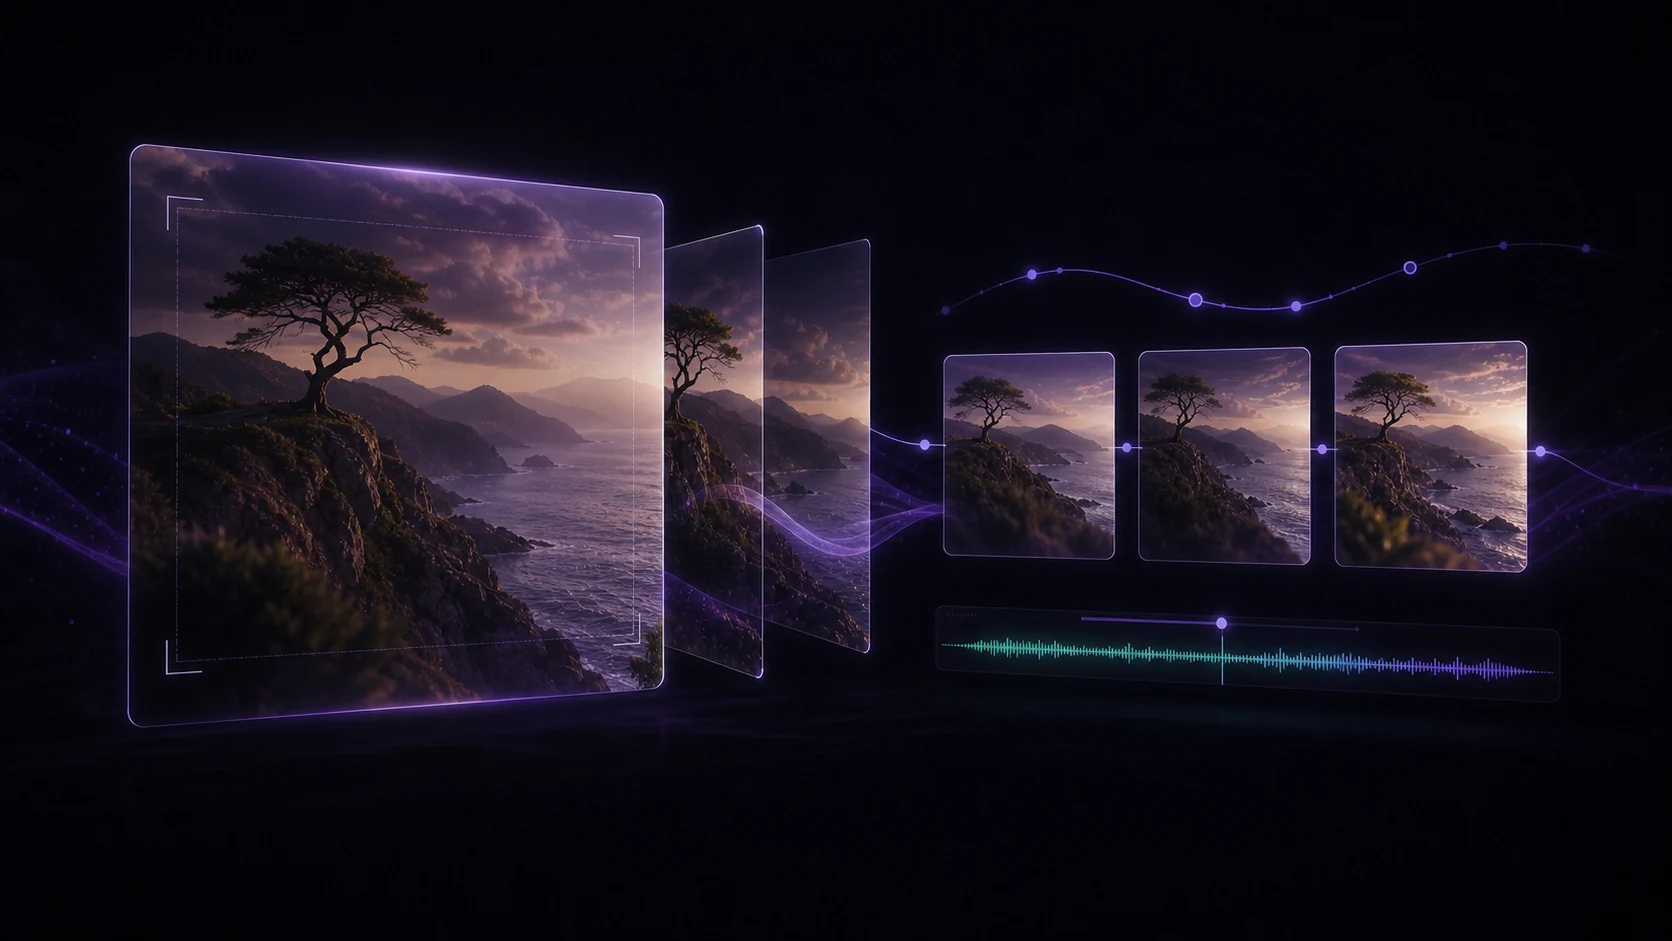
Image-to-video AI can make a single photograph feel alive — subtle motion, realistic depth, natural ambient movement. But like any tool, the quality of your output is directly tied to the quality of your input and how thoughtfully you use the controls.
These five tips will help you get from "that looks kind of interesting" to "how did they do that."
Part 1: Start with the Right Source Image
The most common mistake is uploading a low-resolution, compressed, or poorly framed image and expecting the AI to compensate. It can't.
What makes a good source image:
- Resolution — 1920x1080 or higher. For portrait videos (9:16), aim for at least 1080x1920. The AI needs detail to work with.
- Sharpness — avoid motion blur in the source image. The AI generates its own motion; starting with a blurry base doubles the problem.
- Composition — the subject should be clearly separated from the background. Images with strong foreground/background depth produce the best parallax motion effects.
- Lighting — well-lit images produce better texture rendering during animation. Flat, heavily filtered images often lose detail in conversion.
If you're working with an older or lower-resolution photo, run it through an AI upscaler first. A clean 2K source image will produce noticeably better results than a compressed original.
Part 2: Choose Motion Styles Intentionally
Not all motion is equal. Different motion styles serve different content goals, and picking the wrong one for a given image can look jarring or artificial.
Common motion styles and when to use them:
- Parallax (Ken Burns) — slow, subtle zoom or pan. Best for landscapes, portraits, and product photography. Classic, reliable, never distracting.
- Ambient motion — small natural movements like hair, water, or foliage. Works best when the image already contains elements that would naturally move in real life.
- Camera drift — the virtual camera slowly moves through a scene. Great for establishing shots and architectural photography.
- Dynamic motion — faster, more pronounced movement. Use sparingly. Works for action-oriented content but can feel overwhelming if the motion doesn't match the subject.
Avoid applying heavy motion to images with text overlaid. The distortion from animation often makes text unreadable and the result looks unprofessional.
Part 3: Match Aspect Ratios to Your Platform
Uploading a 16:9 landscape photo and expecting a clean 9:16 portrait video is a workflow problem many users hit early on. The crop or stretch will be obvious.
Best practice: decide on your output aspect ratio before selecting your source image, then crop or source accordingly.
| Output format | Source image ideal ratio | Use case | |---|---|---| | 16:9 (landscape) | 16:9 or wider | YouTube, presentations | | 9:16 (portrait) | 9:16 or 4:5 | TikTok, Instagram Reels | | 1:1 (square) | 1:1 or 4:5 | Instagram feed, LinkedIn |
VidReels handles smart cropping for most aspect ratio mismatches, but you'll always get better results when the source and output ratios are close to matching.
Part 4: Pair Music Thoughtfully
Music isn't decoration — it fundamentally changes how viewers perceive motion speed, emotional tone, and professionalism.
Music pairing principles:
- Match tempo to motion intensity — slow parallax with fast EDM creates cognitive dissonance. Slow, ambient motion works with low-tempo or no-percussion tracks.
- Consider emotional register — the music's mood should reinforce the image's mood. A sunset landscape with anxious background music confuses the viewer.
- Leave room for silence — not every image-to-video clip needs music. If the clip is being embedded in a larger video or used as background, starting with no music gives you more editorial flexibility.
- Volume balance — if you're adding voiceover or subtitles later, keep music quiet (10–15% of max volume) so it sits under speech.
Part 5: Use Batch Processing for Efficiency
If you're producing image-to-video content at scale — real estate listings, product catalogs, portfolio presentations — manually converting each image is inefficient.
VidReels supports batch image-to-video processing, which means you can:
- Upload a folder of images and apply the same style, duration, and motion settings to all of them
- Generate previews for all items before committing to full exports
- Export with consistent naming conventions for easy organization
For batch workflows:
- Pre-sort your images so similar compositions receive similar motion styles
- Use a naming convention that maps to your final content plan
- Review exports at 2x speed to quickly identify any clips that need individual adjustment
Conclusion
Image-to-video produces its best results when you treat it as a craft rather than a one-click shortcut. Source quality, motion selection, aspect ratio planning, music pairing, and smart batch workflows each contribute to the final result. Get these five things right and your image-to-video output will look deliberately produced — not accidentally decent.