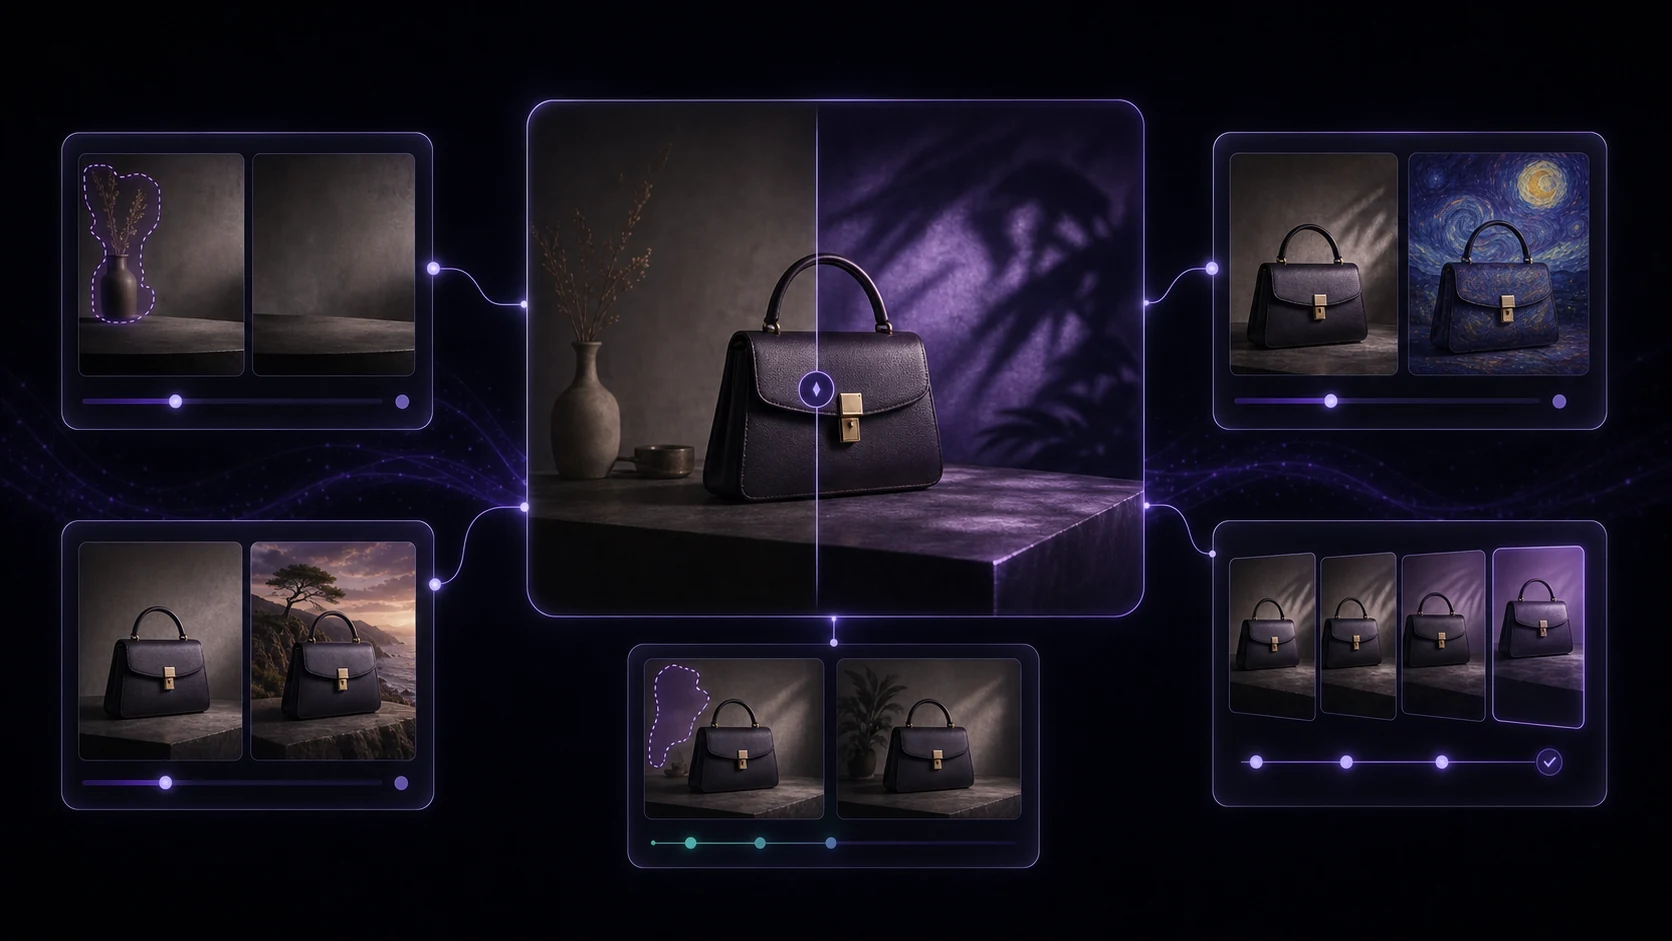
Image enhancement used to mean choosing between a blurry enlargement and hours of manual retouching. AI has changed both ends of that equation — upscaling now adds realistic detail that wasn't in the original, and restoration can recover usable images from degraded sources.
Understanding which enhancement type to use for which problem saves you from over-processing images and producing results that look artificially sharp or over-worked.
Part 1: AI Upscaling
Upscaling increases an image's resolution while adding plausible detail. Traditional upscaling (bicubic interpolation) simply stretches pixels; AI upscaling analyzes image content and generates new pixels based on learned patterns.
When to upscale:
- Preparing web images for print
- Enlarging older photos for display
- Working with AI-generated images at 512px or 1024px that need to reach 2K or 4K
- Preparing social media assets for large-format display or advertising
Scale factors and their practical limits:
| Scale | Best for | Notes | |---|---|---| | 2x | Minor resolution boosts | Near-invisible quality change on good sources | | 4x | Most common enhancement use | Good starting point for most applications | | 8x | Significant enlargement | Works well on clean sources; struggles with already-degraded images |
Always upscale from the highest-quality version of an image you have. Upscaling a compressed JPEG amplifies compression artifacts. If you have the original uncompressed file, start there.
The quality of AI upscaling depends heavily on the source content. Faces, text, and fine textures upscale better than highly compressed or noisy images. For degraded sources, denoise before upscaling.
Part 2: Denoising
Digital noise — the grainy, speckled texture in images shot in low light or at high ISO settings — has traditionally required either accepting the quality loss or applying heavy smoothing that blurs detail. AI denoising removes noise while preserving edge sharpness.
When to denoise:
- Low-light photography (ISO 1600 and above)
- Scanned photographs with film grain or scanner noise
- Compressed or heavily processed images with JPEG artifacts
- Drone and security footage with inherent sensor noise
Two main noise types:
- Luminance noise — random brightness variation; looks grainy. AI handles this well.
- Color noise — random color variation; looks like colored speckles. AI is highly effective here.
Practical denoising tips:
- Apply denoising before upscaling for best results
- Use conservative settings first — over-denoised images look plastic and artificial
- Portrait subjects tolerate less denoising than landscape images; skin texture should remain visible
Part 3: Face Restoration
AI face restoration is a specialized enhancement that sharpens, clarifies, and adds realistic detail to faces in images — particularly useful for old photographs, low-resolution video frames, and any scenario where the face is the most important element but resolution is insufficient.
When to use face restoration:
- Digitizing and restoring old family photographs
- Recovering detail from small or distant faces in group photos
- Improving portrait quality when the original was low-resolution or shot in poor conditions
- Enhancing profile images, headshots, or avatar sources
What face restoration can and can't do:
- It can sharpen blurry faces, add skin texture, and clarify facial features
- It cannot recover faces that are entirely unrecognizable or occluded
- Highly stylized AI-generated faces may look over-smoothed after restoration; dial back the intensity for those
Face restoration alters the literal pixel content of a person's face. Use it thoughtfully for images of real people — particularly in professional contexts where the enhanced image will be presented as a genuine photograph. Disclose AI enhancement if authenticity is a concern.
Part 4: Color Correction
AI color correction analyzes an image's color balance, exposure, and tonal range and applies adjustments automatically — compensating for poor white balance, underexposure, or flat contrast.
When to use AI color correction:
- Correcting mixed lighting (office fluorescent + window light)
- Fixing white balance issues from auto-WB settings
- Recovering detail from underexposed images
- Batch-correcting photos from the same event or shoot for visual consistency
Types of color correction:
- White balance correction — removes color casts (too blue, too orange)
- Exposure correction — lifts shadows, recovers highlights
- Color grading — applies a deliberate tonal look (warm, cool, cinematic)
- Saturation normalization — ensures colors look natural rather than oversaturated
Combining enhancement types:
For best results, apply enhancements in this order:
- Color correction (establishes accurate tones)
- Denoising (removes noise from corrected image)
- Face restoration if applicable
- Upscaling (final step, preserves all previous detail gains)
Running upscaling first and then denoising can produce artifacts. Correct, then refine, then upscale.
Conclusion
AI image enhancement covers a broad range of problems — resolution, noise, face quality, and color — and each tool works best in specific scenarios. Knowing which problem you're solving tells you which tool to reach for. VidReels brings all four enhancement types into a single workflow, so you can apply multiple improvements to an image without exporting and re-importing between different applications.